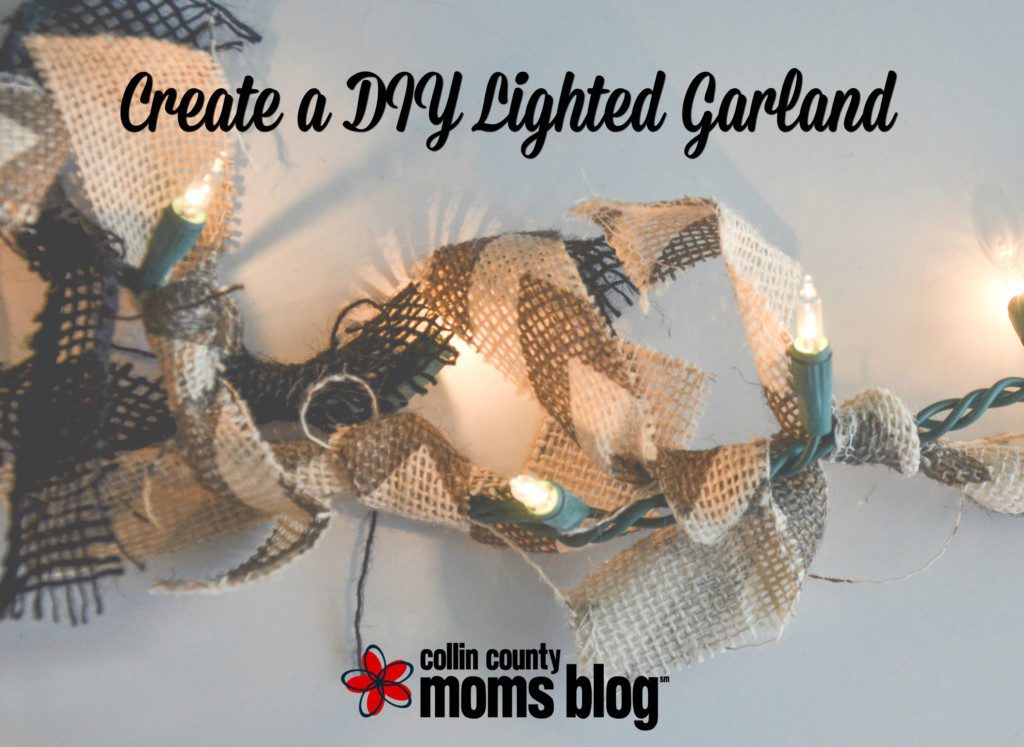
Need a Secret Santa gift in a hurry? Are you hosting the next Moms’ Night Out? Call your girlfriends together, add a bottle (or two) of wine and create your own DIY Lighted Garlands!
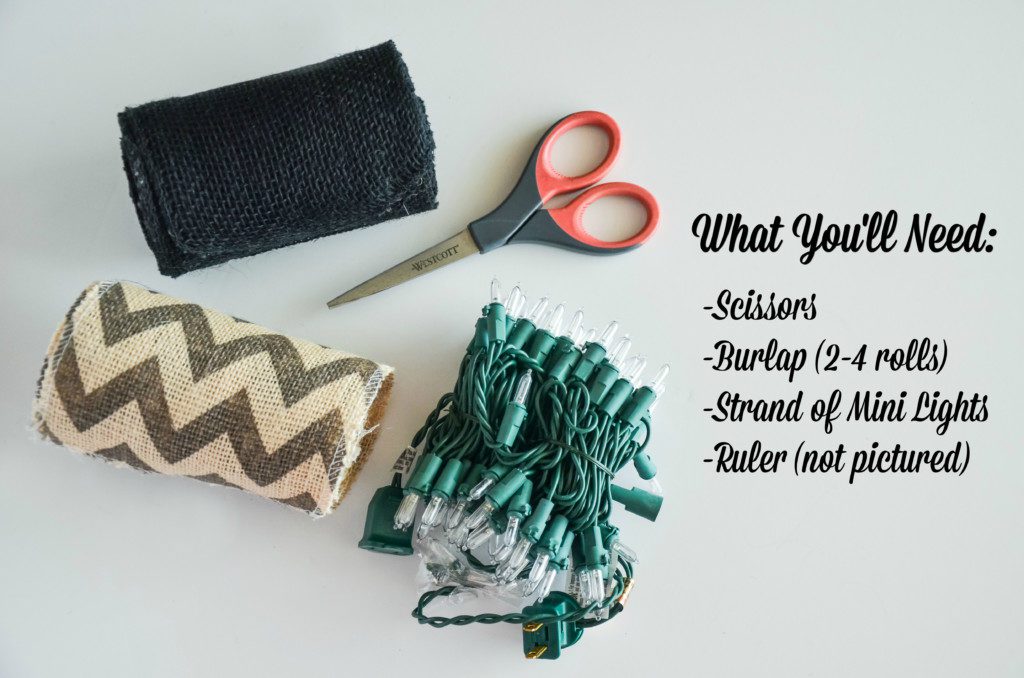
Gather Your Supplies
One of the best things about this craft is that you only need a few things to put it together. A great pair of scissors is key for this. They don’t gave to be expensive, but they should be sharp. Depending on what colors & patterns of burlap you’re using will determine the number of rolls you’ll need. If you prefer a solid garland, three rolls should be plenty. However, if you’re alternating patterns, I’d use four.
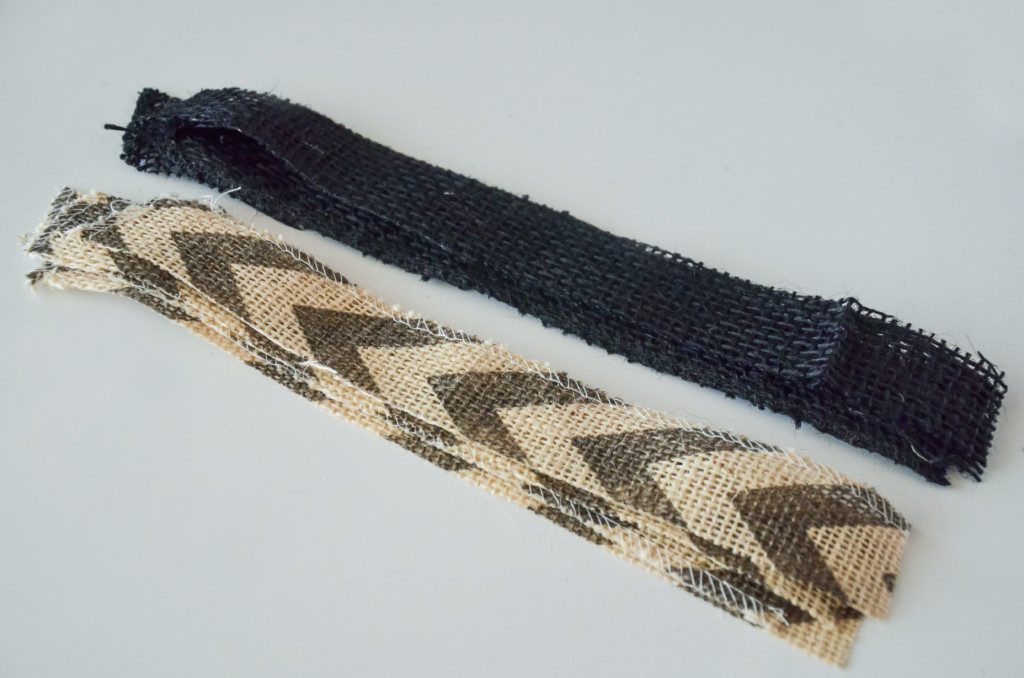
The rolls of burlap I most often find in-store are 15 feet long and 5-1/4″ wide. With these, I cut four strips across the widest part, measuring approximately 1-1/2″ wide and 10″ long. Your measurements don’t have to be exact when cutting these… unless you’ve got a thing for being OCD. No judging here!
Get to Tying!
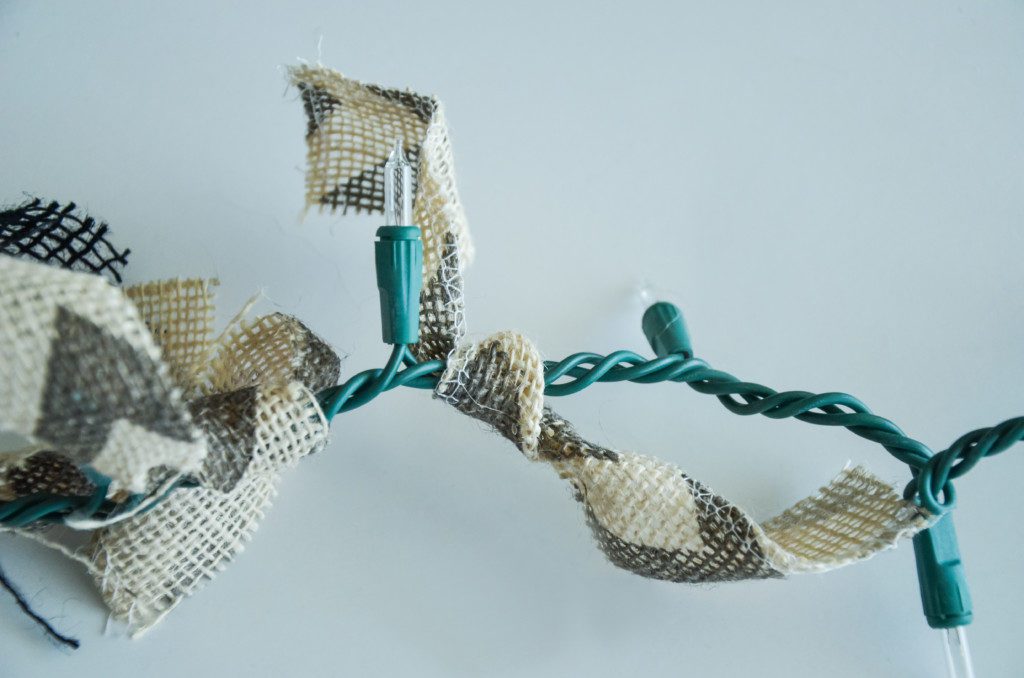
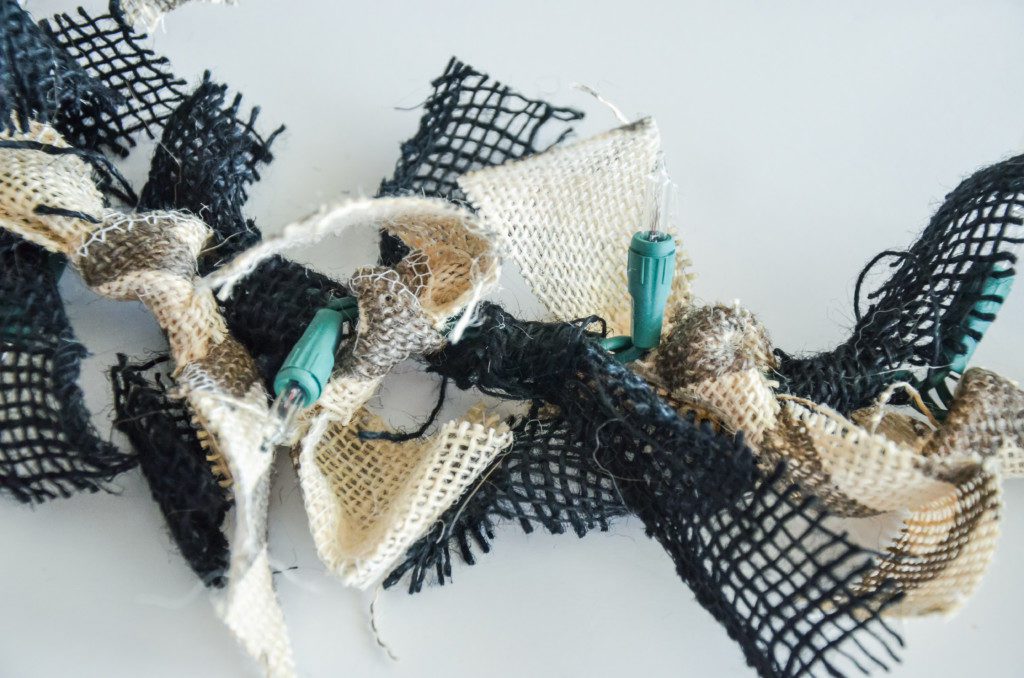
Once your strips are cut, start loosely knotting them along the strand, in between each bulb. I find that two strips fit well, but feel free to add as many as you like and that fit. It may seem like you’ll be tying strips until the end of time, but it’s easy and will go by fairly quickly with a little girl talk and a glass of wine!
Decorate Your Space With the Finished Product
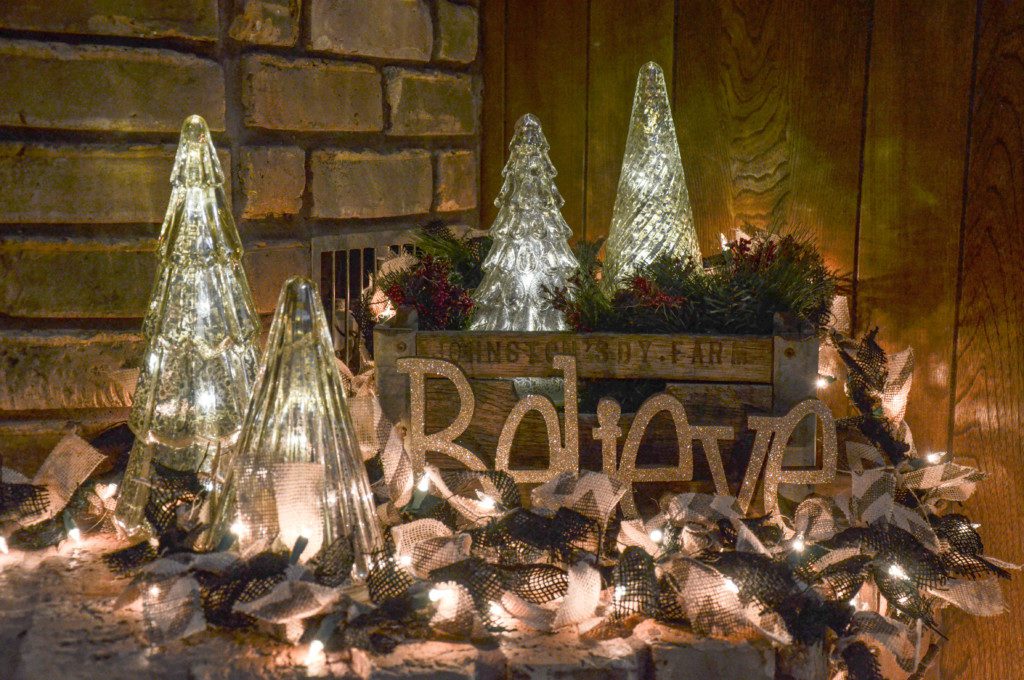
The possibilities here are endless. A few Christmases ago, I wrapped our living room tree with the garland. The year after that, I draped one across our entertainment center. And this year, I’m using it in this little nook next to my fireplace and nesting four mercury glass Christmas trees within.
These aren’t just for the holidays, though! Use your team colors and decorate at sporting events or game-watching parties. Add a touch of whimsy in a nursery using complementary decor colors. Or brighten up your fireplace mantel year-round.
